In this post, I’ll show you how to set up fossasia.github.io locally using Jekyll. This post is for this Google Code-in 2014 task from FOSSASIA:
https://www.google-melange.com/gci/task/view/google/gci2014/5794409786376192
So, these are what you need to run this site locally on your machine:
1. Jekyll data files of the site. You can find it in its github repository.
2. Jekyll, of course 🙂
Let’s start!
1. How to get Jekyll data files of the site?
There are two ways to get the repository on your computer.
a. You can download a zip file contains all the files you need:
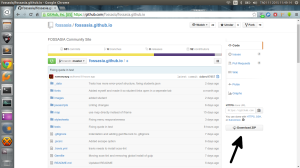
Extract the zip file and you will have the data you need.
b. You can also clone the repository from github:
You can fork the repo or not. It’s optional. To fork the repo, click the button on the top-right corner of the page:
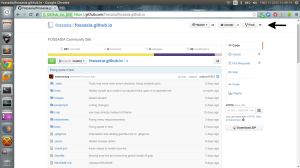
Here, I didn’t fork the repo to my account.I cloned it directly from fossasia using this command:
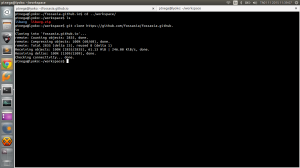
git clone https://github.com/fossasia/fossasia.github.io
It will be easy to sync my local repo on the machine with the one from fossasia. If you clone the forked one, use this command instead:
git clone https://github.com/yourusername/fossasia.github.io
To get updates from the owner of the repo, follow the instruction here: https://help.github.com/articles/syncing-a-fork/
Use this command to get into your workspace:
cd fossasia.github.io
You had your data files. Let’s setup Jekyll!
2. How to setup Jekyll?
To have Jekyll installed on your machine, you need some requirements:
– Ruby >= 1.9.2 (I encountered problem with Ruby’s version and found this requirement. I haven’t read the instruction very much, just installed Jekyll my myself)
– Rubygems, you had “gem” when you installed Ruby 😀
– NodeJS, or another JavaScript runtime (for CoffeeScript support)
Last but not least: Linux, or Mac OS X. I’m using Ubuntu 14.04 LTS.
Here’s how I installed Jekyll:
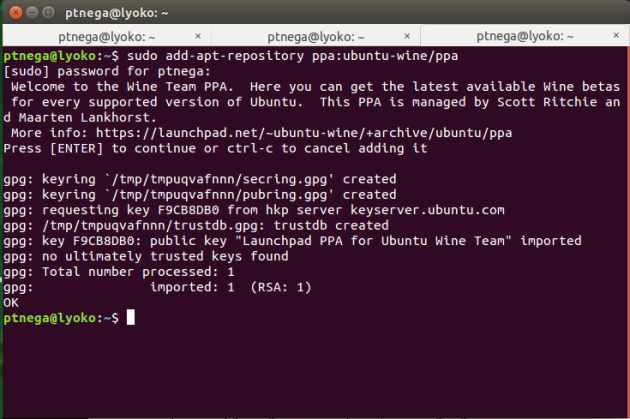
a. Installing ruby and get ‘gem’
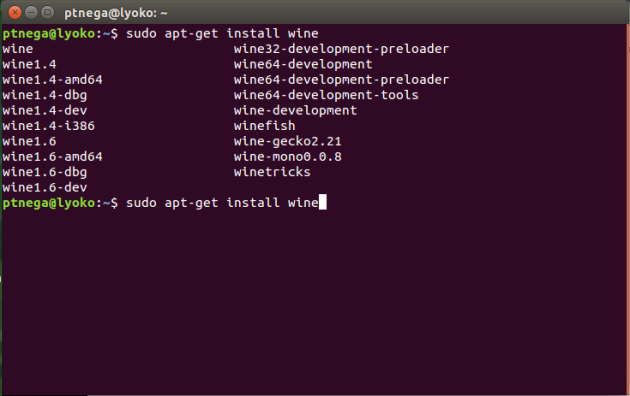
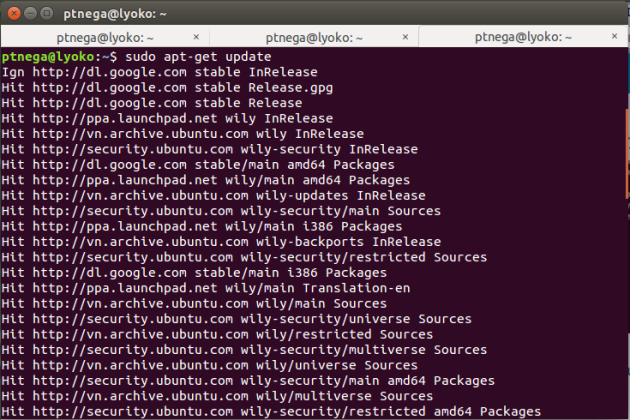
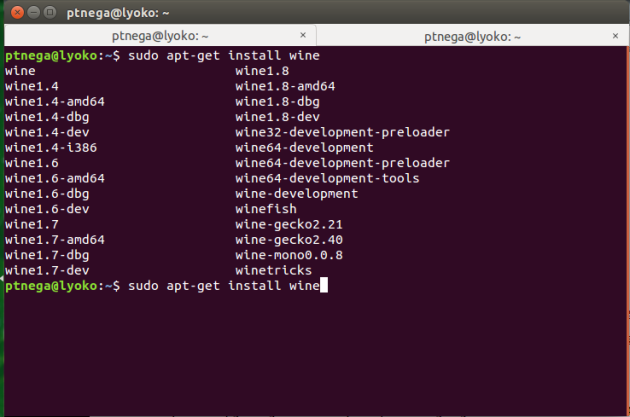
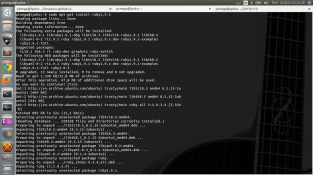
The first time I read the task, I made a mistake, silly mistake. I “installed Jekyll using apt-get” (You know, “sudo apt-get install jekyll”, can’t help laughing at myself). In this task, Jekyll can’t be installed using that command. You should install Jekyll using rubygems. So, firstly, I installed ruby using this command:
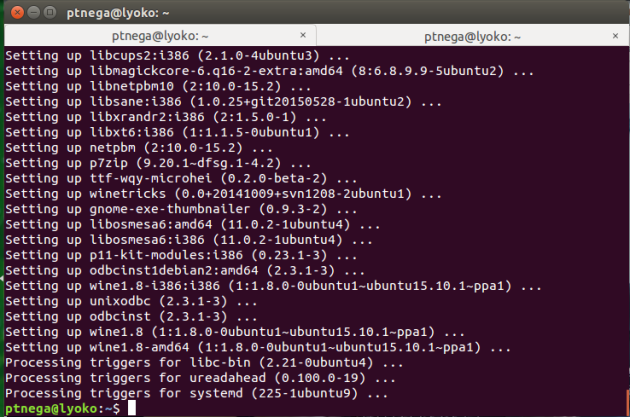
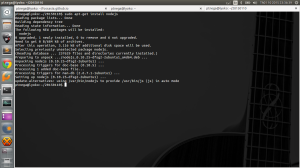
sudo apt-get install ruby1.9.3
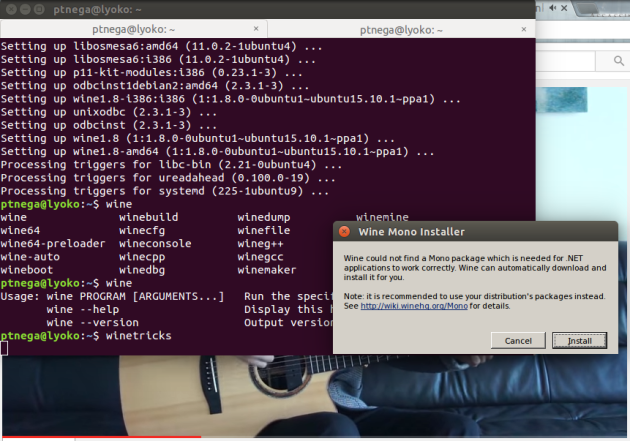
Actually, I had installed jekyll before working on this task. So I had to remove all the requirements, and uninstall jekyll to get those screenshots 😀 Absent-minded… As I said, I had problem with ruby when install Jekyll using ‘gem’. You need ruby with version >= 1.9.2 to go through the installation. I’m sorry for not having the screenshot of that error here.
I don’t know if other users meet this problem. You can leave comment here to make this problem clear 😀
I check my ruby version using this command:
ruby -v
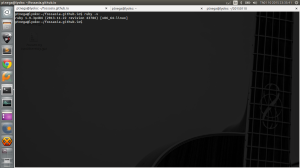
Ah, now I have ruby1.9.3 installed 😀 both ‘gem’ and ruby 😀
Let’s get to the next step.
b. Installing JavaScript Runtime
I use NodeJS as JavaScript runtime. A very familiar command to us:
sudo apt-get install nodejs
I had no trouble in installing nodejs.
Now I had all the requirements. The final step to install jekyll, is “using gem to install Jekyll” 😀
The first time I use gem to install Jekyll, I met this message:
ERROR: While executing gem … (Gem::FilePermissionError)
You don’t have write permissions into the /var/lib/gems/1.9.1 directory.
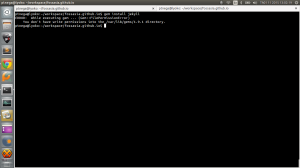
It’s because I didn’t run this command as root. So add “sudo” to the beginning of the command to solve this problem 🙂
Another look at that error. As I said before, I met problem with ruby version but don’t have screenshot here. I found it’s strange that the command requires permissions for /var/lib/gems/1.9.1 directory, but I get error for not having ruby1.9.3 (!?) I think I need some more comments from other users.
This time I run the command without geting any errors:
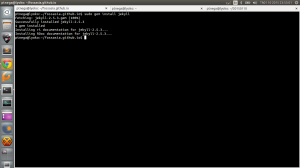
Now you had Jekyll installed on your computer 🙂
How I run fossasia.github.io locally on my machine?
– Go into the fossasia.github.io folder you cloned or extracted in the 1st step.
– Simply run this command:
jekyll serve
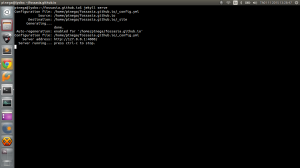
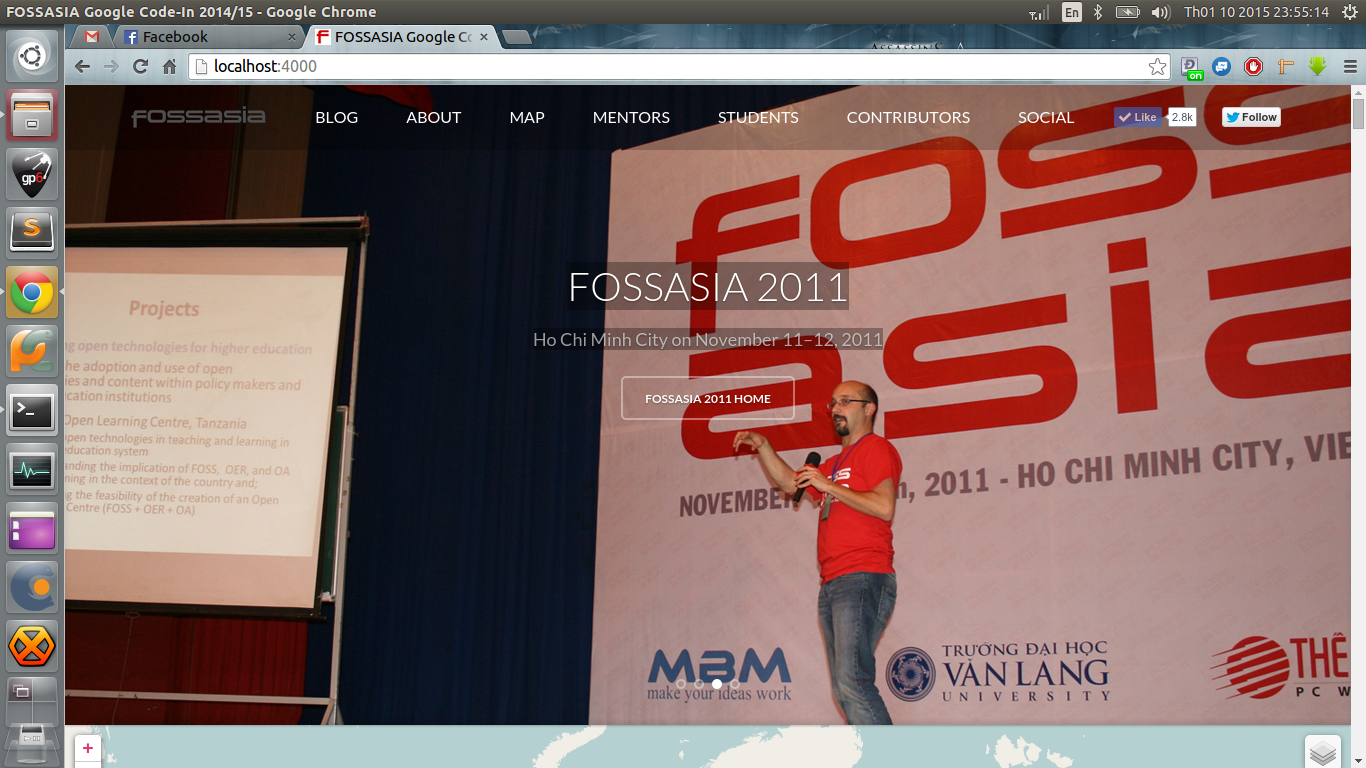
Then I opened my browser: localhost:4000. Here the result:


“IT’S WORKING, YAYYYYYY…”
I was so excited then… Because the biggest problem I faced through the installation, is the speed of Internet. I’m from Vietnam, and the AAG (Asia-America Gateway) cable, which is the main cable of our region, has broken since 5/1/2015. It’s being fixed, and hasn’t done yet. I had to keep my machine on for a long time just to install the requirements, or download something, or just google something. Every activity takes time because of slow Internet 😦
I also met difficulties about “dependencies” while using apt-get. But it didn’t last long. I just used some familiar command such as: “sudo apt-get -f install”, …
Sometimes, when I had to wait during the installation, I played the guitar. It’s interesting and relaxing. You may want to try 😀
Moving to Jekyll has advantages. These are what I think:
– It’s simple to run the website with HTML files.
– No database, just static parts loaded. So, more security.
– Easier to contribute to the website. You can make changes on your own repo, run for a test, and ask the owner of the site for changes.
– Using markdown, so easy to change things.
Hope you enjoy my “experience”. Thanks for reading 🙂
And… sorry for my bad English.